
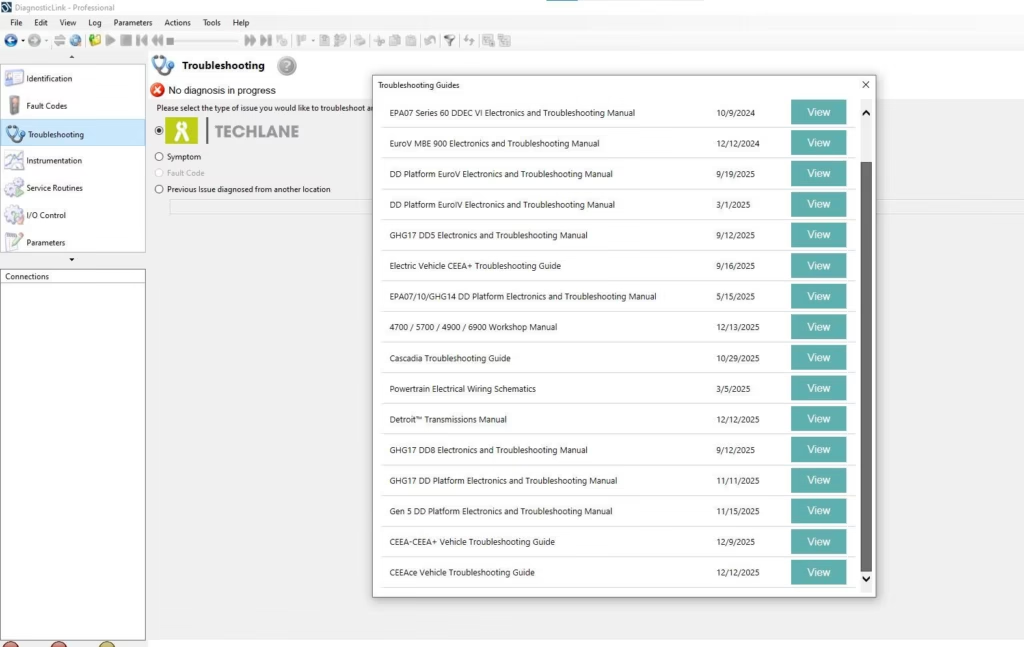
When DiagnosticLink 8.23 fails to connect to a Detroit Diesel ECU, the cause is almost never the engine itself. Most no-communication faults trace back to the wrong software version, an RP1210 adapter that was never set up correctly, a datalink wiring problem, or an inactive license. Work through the checklist below in order and you will isolate the real cause instead of condemning a good ECU.
1. Confirm Your Engine Generation Matches the Software Version
This is the single most overlooked reason DiagnosticLink 8.23 will not connect. DiagnosticLink 8.x only communicates with 2007-and-newer Detroit engines:
- DDEC VI and newer — DD13, DD15 and DD16, including their MCM, CPC, ACM and TCM controllers.
If the truck runs an older engine, version 8.23 will never establish a session no matter how healthy the adapter and wiring are:
- DDEC III, IV and V, and legacy Series 60, MBE900 and MBE4000 (EPA98/EPA04) — these require DDDL 6.50/6.51 instead.
This is exactly why the bundled DDDL 6.51 + 8.x package exists: 6.51 covers the older platforms and 8.x covers the newer ones. Identify the engine first, then open the matching software.
2. Install the RP1210 Adapter Driver, Then Confirm It
DiagnosticLink needs an RP1210-compliant datalink adapter. Common examples include:
- Nexiq USB-Link 2 or 3
- Noregon DLA+
- Dearborn DPA5
A missing or incorrect RP1210 driver is the most common real-world connection failure. Install the adapter’s RP1210 driver package before plugging the adapter into USB — installing in the wrong order frequently leaves you with an adapter that Windows sees but DiagnosticLink cannot use. Seeing the device in Windows Device Manager is not enough; the RP1210 driver has to be registered so the software can call it.
3. Select the Correct RP1210 Device in SID Configuration
The idea of manually picking a “communication protocol” is misleading. DiagnosticLink detects the engine datalink protocol (J1587 or J1939) automatically. What you actually choose is the adapter. Open the SID Configuration / Communications window and confirm the active RP1210 device matches the adapter you have physically connected — for example a Nexiq USB-Link 3, not a leftover USB-Link 2 entry or a phantom device from a previous install. Selecting the wrong or stale device produces repeated failed connection attempts that look like an ECU fault but are not.
4. Use the Right Diagnostic Connector and Cable
Newer Detroit trucks use a 9-pin Deutsch connector; the Type II “green” 9-pin carries 500k-baud J1939. Older trucks use a 6-pin connector. Using the wrong cable or pinout for the truck blocks communication before the ECU is ever reached. While you are there, inspect the cable and connector for loose or worn pins — a physical break interrupts communication even when the software appears to function normally.
5. Measure the Datalink at the Connector
If the adapter is set up correctly but you still cannot connect, measure the bus. On the J1939 (CAN) datalink used by DD-series engines, a healthy bus has two 120-ohm terminating resistors, so with the key off you should read about 60 ohms across CAN-H and CAN-L at the diagnostic connector. An open, a short, or a reading far from 60 ohms means the wiring — not the ECU — is stopping communication.
For older Detroit engines that still use J1587/J1708 (Series 60, MBE), measure about 3–4 VDC between the J1587+ and J1587- terminals at the ECU connector. A voltage well outside that range points to a datalink fault rather than a failed ECU.
6. Validate Power and Ignition State
ECU communication depends on proper vehicle power. Turn the key to the ON position with the engine off so the controllers are powered and ready to answer. Confirm battery voltage is stable; low voltage often causes failed or unstable connections with no clear error message.
7. Confirm the License Is Active
DiagnosticLink requires an active license. An expired, deactivated, or never-activated license blocks the session even when the adapter, wiring, and vehicle are all fine — and it rarely produces an obvious “license” error, so it is easy to mistake for a hardware fault. If you have ruled out the engine generation, adapter, wiring, and power and still cannot connect, licensing is the likely culprit.
If you would rather not troubleshoot the setup yourself, our remote TeamViewer install and activation service sets up the correct software version, installs the RP1210 drivers, and activates the license for you, so the software is ready to connect the first time you plug in.
8. Rule Out Driver and Software Conflicts
Drivers from other diagnostic applications can interfere with the RP1210 stack. If a different OEM tool is installed on the same machine, confirm that only the required drivers are active and that no competing background service is claiming the adapter.
Final Thoughts
A DiagnosticLink 8.23 no-connect is rarely a single failure point. Verify the engine generation matches the software, set up and select the RP1210 adapter, check the connector and datalink resistance, confirm power and ignition, and make sure the license is active. Working the list in order isolates the real fault and keeps you from replacing a healthy ECU.


